
Architectural Installation Process
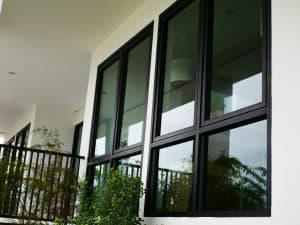
Architectural window film installation is a process of applying a thin film to the surface of windows for various purposes such as enhancing privacy, reducing glare, improving energy efficiency, adding decorative elements, or providing security. Here’s a general overview of the process:
Consultation and Assessment
The process typically begins with a consultation between the property owner and a professional window film installer. During this consultation, the goals and requirements for the installation are discussed. The installer may also assess the windows to determine the type of film that would best suit the needs of the space.

Film Selection
Based on the consultation and assessment, the installer will recommend a type of window film that meets the client’s needs. There are various types of window films available, each with its own characteristics and benefits. These may include solar control films, decorative films, privacy films, security films, and more.
Preparation
Before the installation begins, the windows need to be thoroughly cleaned to ensure that the film adheres properly and that there are no dust particles or debris trapped beneath it. The installer will typically use a mild detergent solution and a squeegee to clean the windows.
The window film is typically supplied in large rolls, so it needs to be cut to the exact dimensions of each window pane. The installer will measure each window carefully and use a sharp blade to cut the film to size.

Application
Once the film is cut to size, the installation process begins. The installer will spray a solution of water and soap onto the window, which helps to activate the adhesive on the film and allows it to be repositioned as needed during installation. The film is carefully applied to the window, starting from one corner and gradually smoothing it out to remove any air bubbles or wrinkles. After the film is applied to the window, the installer will use a sharp blade to trim away any excess film around the edges. This ensures a clean and professional-looking finish.

Curing and Drying
Once the film is applied and trimmed, it needs time to cure and dry fully. This process usually takes a few days, during which time the installer may advise against opening or closing the windows to allow the film to set properly. Once the film has cured, the installer will perform a final inspection to ensure that it has been applied correctly and that there are no issues such as air bubbles or wrinkles. Any necessary touch-ups or adjustments will be made at this stage.