Automotive Installation
Window film installation on a car involves applying a thin, transparent film to the interior side of the vehicle’s windows. Here’s how the process typically works:
Film Selection
Automotive window film comes in many shades and varying degrees of reflectivity. Depending on your needs and location, selecting the right film for your automobile can be tricky. The IWFA recommends consulting with your dealer about the right film for you, and to visit our Interactive Tint Laws page to check on your state’s legal requirements for Automotive window film.
Preparation
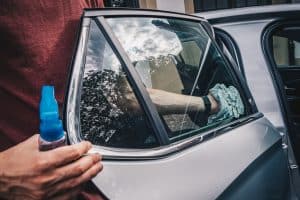
The windows need to be cleaned thoroughly to remove any dirt, dust, or debris that could interfere with the adhesion of the film. The window film is measured and cut to fit the specific dimensions of each window. Professionals often use specialized tools to ensure precise cutting. A soapy water solution is applied to the inside of the window to aid in the installation process. This solution allows the film to be positioned correctly and prevents it from sticking prematurely.
Application
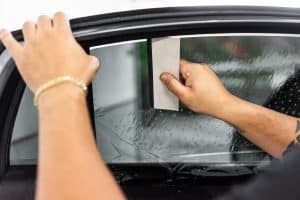
The film is carefully positioned on the inside of the window, ensuring that it aligns properly with the edges and contours of the glass. A squeegee is used to remove any air bubbles trapped between the film and the glass. Additionally, heat may be applied to the film using a heat gun or similar device. This helps the film conform to the curvature of the window and ensures a smooth, uniform appearance.
Curing and Drying
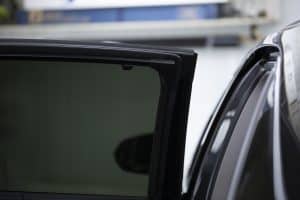
Once the film is properly positioned and adhered to the window, any excess material is trimmed away, leaving clean edges. The installer may also perform final checks to ensure that the film is free of defects or imperfections. The adhesive used on the film typically requires some time to fully cure and bond with the glass. The specific drying time can vary depending on factors such as temperature and humidity.